Monday 28 July 2014

DIY Salve with Plantain

For many reasons, I feel like I come alive in the summer. One part of the season that I do not enjoy, and I know I'm not alone in this regard, is bug bites. Not only do I dislike the itch and sting, but it is compounded by the fact that my daughters hate them and often refuse to go outside because of them. There are many products on the store shelves for bug bites, but in my quest to make my own and avoid unnecessary packaging and potentially harmful ingredients, this summer I have made my own skin salve, with the key ingredient being plantain. I also fits in nicely with my one little word for the year, make.
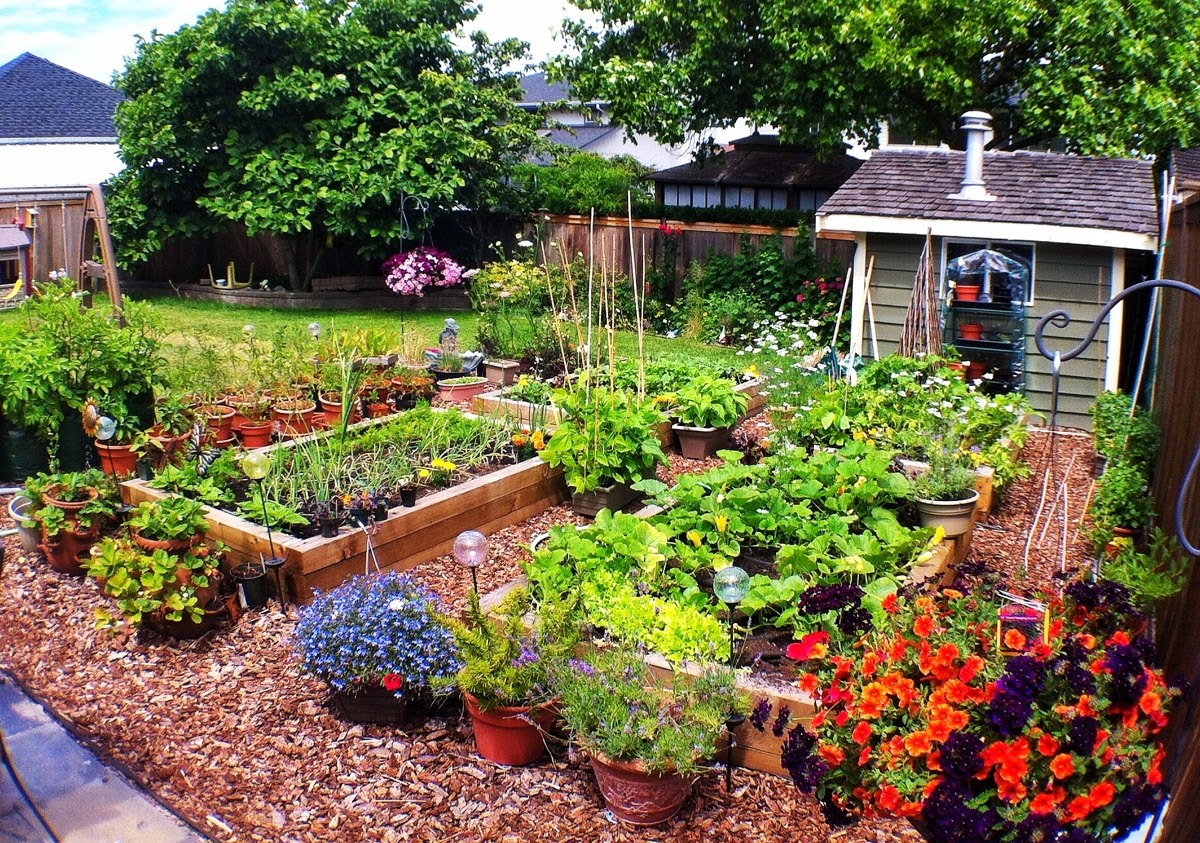
Plantain is a very hardy plant and grows almost anywhere, especially in lawns along concrete path and driveways. Most people think it as a weed and pull it up, but it is edible and can be used as a topical application for skin irritations like bug bites, stings, rashes and cuts. I have some growing in my raised garden beds and as long as it doesn't take over, I leave it.

Sometimes when I'm watering my garden in the morning I get mosquito bites, so I just grab a leaf of the plantain, crumple it (some people suggest chewing it) to release the moisture inside and directly apply to the itchy spot. Within 5-10 minutes the itch and sting is gone. 

I like to have salve with me when I go out with my daughters, and I want to have some when the growing season is over, so I made some plantain salve. I'm happy to report that it works as well as directly applying the leaf. 

I apologize for the approximations in my recipe below. I just played around different recipes  until I had the consistency I liked. Because I use coconut oil that can be very soft to liquid in warm temperatures, I added a little more beeswax to help keep the salve in more solid form during warm summer weather.


Ingredients and Materials:
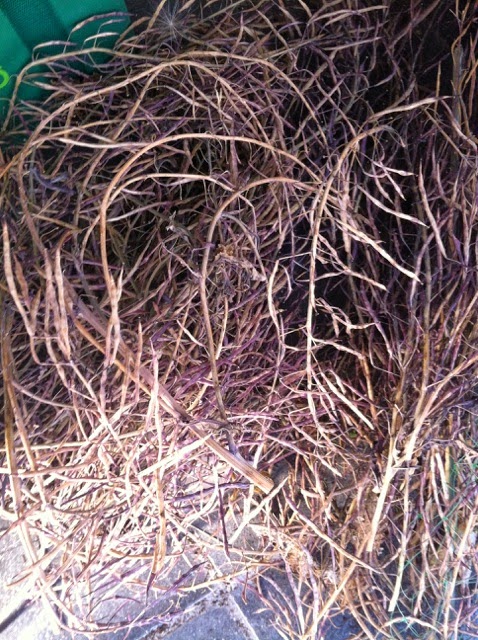
  • approximately 1 to 1 1/2 cups dry plantain leaves, chopped 
  • approximately 1 1/2 cups oil (I like coconut oil for skin care)
  • approximately 1-2 tablespoons beeswax 
  • essential oil of choice (I like tea tree oil for it's curing properties)
  • glass jar (I use mason jars)
  • fine strainer or cheese cloth
  • containers for the completed salve
  • double boiler or pot and stainless steel bowl or crock pot


Method:

  • Harvest the plantain leaves. If you must wash them, make sure they are dry so that the salve will last longer. Chop them into small pieces.

  • Place oil on the plantain leaves in a glass jar. Completely mix together.

  • Place the jar in a pot or crock pot with enough water to come almost to the top of the oil. Gently heat the mixture on very low heat for about 12 hours. I wasn't home long enough to do this in one go so I split the heating over two days. 
I added a cloth under my mason jar in the crock pot
so the glass wouldn't have direct heat on it.

  • Strain the plantain leaves from the oil and allow the oil to cool completely. 

  • Using a double boiler or pot of water and stainless steel bowl, melt the beeswax and add the plantain oil. Thoroughly mix. Add a few drops of essential oil of choice. 

  • Pour into small glass jars or stainless steel jars. Leave it to cool completely and store for future use. 
The salve is cooled and ready for use, which I have already
done with the salve in the mason jar. You can see how
hard my mixture is (had to use my finger to scape it) but
if you like it softer just use less beeswax. 


Friday 18 July 2014

{this moment}

{this moment} - Inspired by Amanda Soule at SouleMama
"A Friday ritual. A single photo - no words - capturing a moment from the week. A simple, special, extraordinary moment. A moment I want to pause, savor and remember. If you're inspired to do the same, leave a link to your 'moment' in the comments."


The Benefits of Bolting

We are approaching the dog days of summer and in the heat many vegetables are starting to flower. I am always surprised when I see people pulling up all their plants that have bolted, to make way for new plants. Of course once some plants have bolted their greens are bitter to taste and we need to remove them so that we can have a continuous supply of plants to eat. But those plants that have flowered are great for the garden. I would like to make an argument for intentionally letting some vegetables flower and go to seed.

Seed Saving

Leaving plants to go to seed, and then collecting the seeds, may not be on the list for novice gardeners, but I believe that it is important. It provides free seeds for subsequent years' gardens, which is always a good thing. It also preserves a diverse living history of plants so that we can maintain and grow plants that we do not typically see in the grocery store. There are many other benefits to seed saving, but an important one is that it takes the control of seeds out of the hands of corporations such as Monsanto and their terminator seeds.

Kale seed pods drying.

Continue reading at The Green Phone Booth>>>

Monday 14 July 2014

Spot the Pollinator: Honey Bees

With the hot summer weather many things in my garden are starting to bolt. One positive of my plants going to flower is seed saving. Another is all the bees that the flowers are attracting to my garden, and I need them to pollinate my summer squash, tomatoes and cucumbers. But on a purely happiness level, seeing the bees makes me smile.

I'm a little bit obsessed with bees, and when I see them I have to stop and take a photo of them. My kids and husband are getting a little bit tired of waiting for me to get the perfect shot, which sometimes is a challenge armed with just my iPhone.

I saw the bumble bee and honey bee when we were at Granville Island
this weekend. In fact, there were so many bees here that the air was buzzing. 


I managed to get a second good capture as the bumble bee flew away.


This honey bee was pollinating my cucumbers.


Cilantro bolts very quickly, but it is lovely when it flowers. They are
in the same bed as my zucchinis and bringing the bees like crazy. The
bee is difficult to see in the top middle of the photo. 


Spot The PollinatorI am linking up with The Green Bean Chronicles who is hosting the Spot the Pollinator segment. Pop on over and visit her.


h

Tuesday 8 July 2014

DIY Faux Batik

I'm always on the lookout for crafts and DIY presents that upcycle materials we have around the house. Never mind that I am a horrible packrat when it comes to recyclables and I have multiple stashes around the house "just in case" I need them for a fabulous craft idea. I have a whole closet dedicated to toilet paper rolls, egg cartons and glass jars.

When I saw this post about creating Elmer's Glue Gel Batik at All Our Days I knew I had finally found the perfect craft for some old worn and ripped sheets I have been saving for a few years. It was on my summer bucket list and in keeping with my one little word for 2014, "make".

I am making bunting flags for my garden and I knew I wanted to try this technique for some of the flags.

I didn't, however, have the glue gel. I decided to try it with regular white craft glue, and the results are in.... it worked perfectly.

At All Our Days they suggest using this technique to make cloth napkins, which I could see working if enough of the paint is rubbed out of the fabric so that it is soft enough. I didn't worry about that because I am making flags and want the colour to be more intense and the fabric is slightly stiff from the paint, although ironing the fabric at the end made them softer. I imagine that after repeated washings the fabric would soften up as well.

Materials:


  • pieces of fabric, hemmed or edged on a sewing machine so that it won't fray (I used upcycled sheets). I only sewed around the edges on three sides for mine because I will be folding over and sewing the top edge to create my bunting. 
  • white craft glue
  • acrylic paint
  • paint brushes (I used the wedge sponge type)
  • hot water in a shallow dish, and more hot water to rinse


Method:

  • "Draw" the pattern or shape onto the fabric using the glue. I practiced what I wanted to do on paper first to be sure that the design would fit. 

  • Lay the fabric in a sunny location to help set the glue on the surface. Luckily I did this on a hot day so this part of the drying process only took about an hour. The glue shouldn't be fully dry throughout or else it won't wash off in the hot water. To test if it is ready, run a dry brush lightly over the surface. The glue shouldn't smear and should still be white. The longer the glue is left to dry the harder it is to get out of the fabric later, but I would rather err on the side of leaving it too long than trying to paint over the glue and having it smear.

  • When the glue is sufficiently set, paint the fabric using the acrylic paint. I decided to water my paint down quite a bit and slightly layer the colours. 

  • Lay the fabric out to dry. Wait until the paint is completely dry. Again, because I did this on a very hot day it only took about an hour.

  • Pour hot tap water in a shallow dish in the sink and leave the fabric to soak until the glue rubs off easily. I had to add hot water a few times and rub with my fingers to completely remove the glue and paint. This took away some of the intensity of the colour but I was pleased with the final result so this didn't bother me. 

  • Lay the fabric to dry in the sun again.
I tried this process minus the glue for a few pieces of fabric
and they look great. The colour is more intense on those ones
because I used more concentrated colour and a fine paint brush.
I should have put something underneath the fabric while
it was drying because it stained my table and now I have
to figure out how to get it out.

  • Iron the fabric if so desired. 
I ironed mine because I wanted them to lay flat. Turn it
over and iron the wrong side. I also trimmed the fraying edges
up close to the sewing edge that I did.

  • Voila!
I really like the blending of the colours in the batik versions, and the imperfections in the paint that give them a
one of a kind appearance. My daughter designed the veggie flags and I did the chakra flags. 


Monday 7 July 2014

Spot the Pollinator

Everyone loves ladybugs, not only because they are so cute with their red with black spots, but because they are so beneficial for the garden. Their appearance belies the fact that they are predators, gobbling up insects that chomp on our plants. 

There are other garden predators that eat "bad" bugs in our garden that perhaps do not have as good a reputation as the ladybug because they are not as cute, like wasps. Soldier beetles, such as the one pictured below, are rather scary looking when one comes upon them in the garden, with their long body and antennae. These beetles, however, are fierce hunters of insects like aphids that like to have a feast on new garden growth. 

The bonus of garden predator insects is that they are accidental pollinators as well. As they climb all over flowering plants the pollen can stick to them. This can clearly be seen in the photo below. This soldier beetle was one of many on my flowering carrots. I hope this means that I will have lots of seeds to save come the end of the season.


Spot The PollinatorI am linking up with The Green Bean Chronicles who is hosting the Spot the Pollinator segment. Pop on over and visit her.


Friday 4 July 2014

{this moment}

{this moment} - Inspired by Amanda Soule at SouleMama
"A Friday ritual. A single photo - no words - capturing a moment from the week. A simple, special, extraordinary moment. A moment I want to pause, savor and remember. If you're inspired to do the same, leave a link to your 'moment' in the comments."


Cheapskate Summer Bucket List

My Pinterest feed is full of cute ways to document a summer bucket list, along with all the fabulous things to do during the summer. Due to some unforeseen circumstances, however, my summer bucket list will mostly consist of free things to do with my kids. If life gives you lemons, as the saying goes, make lemonade, so I'm excited to try to do as many things with my daughters that will cost little to no money. To continue with the May 30 by 30 Nature Challenge, I hope to have as many bucket list items take place in nature or relate to nature as possible.